At this point, we’re completing the back side of the neck pocket template, and then tidying up and completing it before putting the template to good use.

Above: Gluing in more scrap pieces to finish the end of the template. This is done to complete the back side. While the front side looks fine, the back is incomplete, and this is the completion.

Above: Clamps holding the glued pieces to ensure good bond

Above: When glue is dried, the overhang from the new piece is trimmed to fit template correctly.

Above: Squaring of the corners is done by hand and necessary since a square corner cannot be cut with a round router bit.

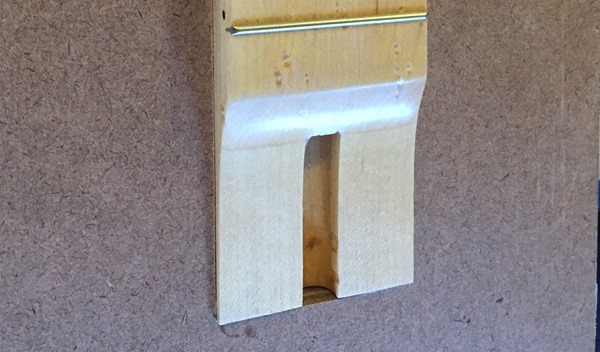
Above: Test fit of neck into template with new pieces added in on bottom.
The neck pocket template is now done! Now we move on to the body blank in the next step…
Where are the rest of the build steps?
You can view them all here.