In this build step, the treble side rib is cut. A mistake was made where the cut wasn’t exactly flush so a chisel (not seen in the first photo below but seen later on) had to be used. Where wood is concerned, sometimes (or rather oftentimes) things don’t always go according to plan, so you have to be ready for contingencies. What you’ll see below obviously isn’t the worst error you’ll ever see, but you will gain knowledge on how to recover should it happen in your build.
Below: Tools shown are Japanese flush-cut saw (flexible blade) and mechanical pencil.

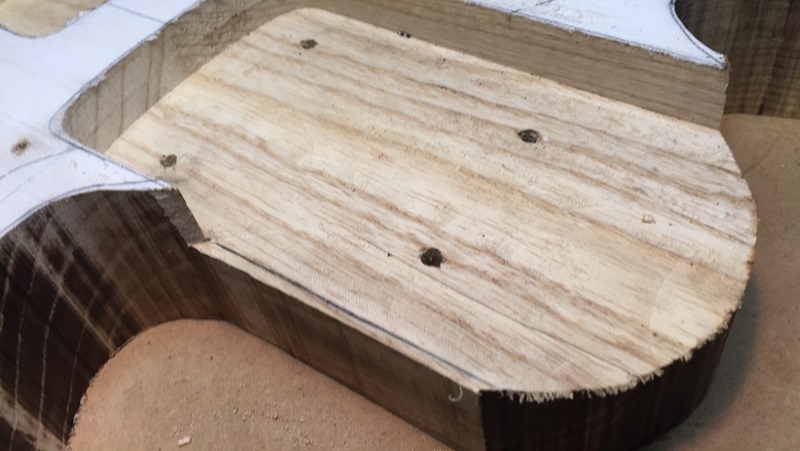
Below: The rib of the neck pocket

Below: Marking the edge of the cavity so we know where the cavity ends once the cut is made.

Below: Marking the edge of the neck route.

Below: Continuing with the marking of the neck route.

Below: Cutting away the rib, purposely keeping space away from the line since this will be sanded away later on the spindle sander.

Below: The cut at full depth.

Below: A horizontal cut to take away rib, attempting to stay as flush to the bottom of the cavity as possible.

Below: Continuing the cut.

Below: Blade flipped around to match cut angle.

Below: Due to minor blade wandering (this is where the error happened), a small amount of the rib remained. A sharpened bench chisel was used to gently shave away the small amount of rib left to make a truly flush cut.

Below: Cut is completed.

Note that pencil line remains for use as a guide when brought to the spindle sander.
Where are the rest of the build steps?
You can view them all here.