

In this build step, the only tool used is the spindle sander with drums of varying sizes to be able fit the sander everywhere that needs to be sanded.
Below: Spindle sander used with 80-grit sandpaper. Seen here is, for this particular table, the largest 3-inch drum.

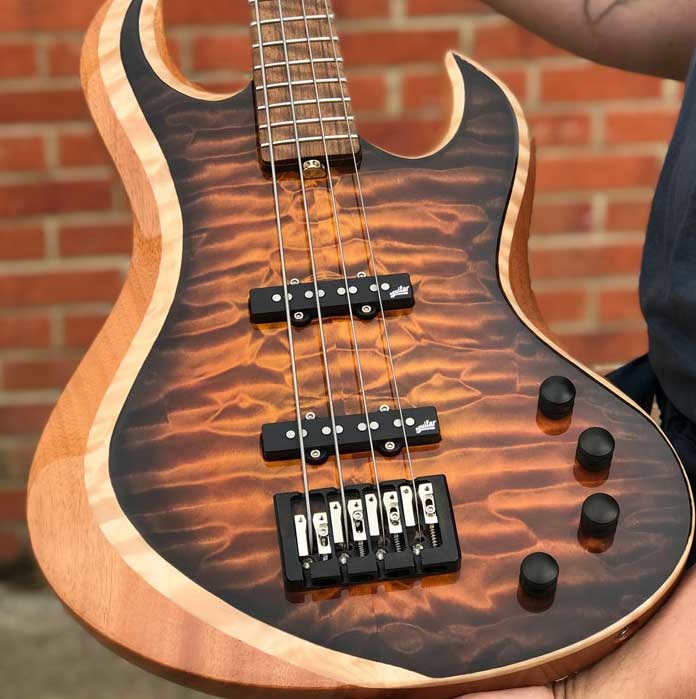
Below: A look at the upper waist of the body. Burn marks are present because the bandsaw scroll-cut blade is somewhat dulled and needs replacement (this blade is low enough of a cost where replacement is most cost effective compared to resharpening). However, due to the fact the work needed to be done, the replacement blade will be attended to later. It is possible to get along with a dulled blade, but it does require more time to complete the work.

Below: Upper waist horn is being shaped.

Below: Upper rear is being sanded.

Below: Sanding lower waist control area.

Below: Lower horn sanding.

Below: Showing the burn marks on the lower waist to be removed.

Below: Burn marks have been removed with careful sanding.

Below: Drum has been changed from 3-inch to 1.5-inch to sand smaller areas.

Below: Sanding the neck area, and purposely not getting too near the pencil line (this line was made in a previous build step for guide purposes).

Below: The line from the lower cutaway to the neck area is now smoothed properly.

Below: Sanding the upper cutaway.

Below: Showing both cutaways sanded. There is still a small amount of burn marks, so a smaller drum will be used to attend to those.

Below: Switched to a 7/8-inch diameter drum.

Below: Body has been sanded. The spotting is a natural part of the wood and not from the sanding process.

Below: All burn marks sanded away and removed.

Where are the rest of the build steps?
You can view them all here.

This coffe cup is a little too close to the edge… (Don’t push me cause I’m close to the edge, I’m trying not to loose my head…) !
A lot of people don’t have either the space or the money for a spindle sander. If, like me, you are in that category there are sanding drum kits that can be used with a drill motor or drill press. Even a little bench top drill press can use these. You’ll definitely have to think about how to approach some angles, since the drill press has a post in back supporting the head.
An add on drill press table really helps to keep things stable too.