

We last left off with routing the control cavity, and now it’s time to move on to routing the pickup cavity.
Below: What we’ll be using. Two clamps, the body template, router and body block (in progress.)

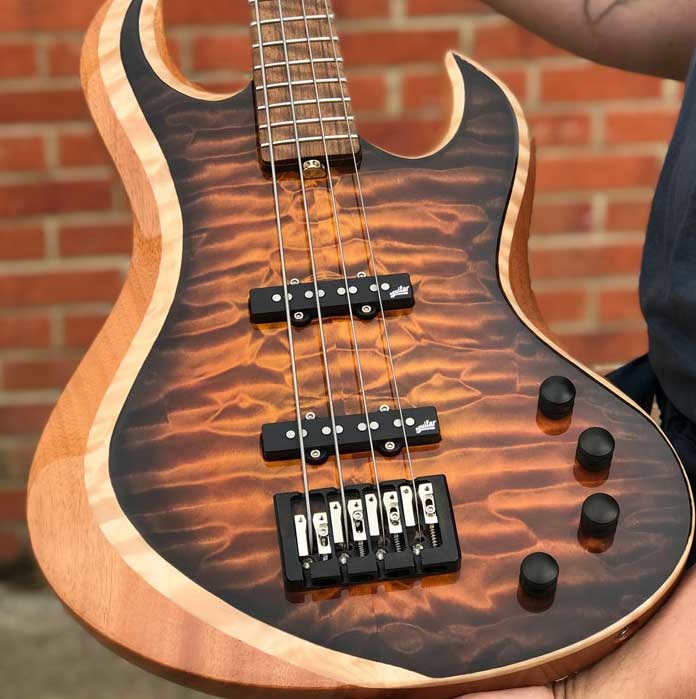
Below: The layout of pickup route drawn on body. While it is not necessary to draw in the pickup shapes inside the drawn route, it’s a good habit to get into to help visualize the final instrument.

Below: The body is positioned for clamping.

Below: The template is positioned.

Below: Clamps are then positioned to hold body and template in place.

Below: Routing the first pass, about 1/4-inch at a time. Multiple passes are usually to achieve the depth desired. The final depth will be 5/8-inch. Since P-bass style pickups aren’t as tall as jazz pickups, 5/8-inch will work fine. If we were routing for Jazz Bass style pickups, 3/4-inch would usually be used.

(Note: BBG carries extra-long pickup screws for deep routes, should you need them.)
Below: The first pass is completed.

Below: Second pass is completed.

Below: The third pass completed, and it’s here we check for the depth of 5/8-inch that we want.

Below: The route is completed.

Where are the rest of the build steps?
You can view them all here.

What a really great step by step guide to routing the pickups. Question…what would be the best wood filler to filling in the existing pickup cut outs in order to re-route, i.e. Going from P to J pickup, and the route out? Thanks!
I recommend filling in the old P pickup routes with custom made wood blocks with correct grain orientation and ideally out of similar material to the body. Fill materials like bondo or a thickened epoxy resin will of course work, could even be routed with carbide tipped routed bits, but the fill materials don’t expand and contract with the seasons the way that wood does. If you plan to do a spray finish touch-up non-wood fill materials will ‘show through’ the finish, making the repair more obvious than it should be.
Greetings. I would also love to hear a response to Michael Christenson’s question! In addition: Do you start with a hole first, using a drill with a larger hole than your router bit? If not, how do you start the route without a hole drilled first? I find the router bucks if I go into wood without a starter hole or similar. Thanks!
Most people do drill a hole first to ‘start’ the router bit in I do not. My approach is to start the router then lower it in. I just lean the router, so the router base is touching on one side and the bit is in the air, then plant the base down when the router is running. I prefer this because the relief drill method the relief drill is never the right depth, and I prefer not to see the scar of the relief drill inside my routes.
I usually drill my relief holes 1/8 shy that way the router cleans up the last little bit and there’s no sign of the relief hole scar. Saves wear and tear on my router bits.
I route 1/8″ at a time with a 1/4″ straight bit with a 3/4″ thick pattern. The 1/4″ bit will get the inside corners right. i just route slow and easy. after 3 or 4 passes, i can run the router bit shaft (also1/4″) against the template
I have been wanting to make my own rear routed p bass body for a while, but all of. the tutorials i have found use a pick guard. Can you guys do a rear routed one?