
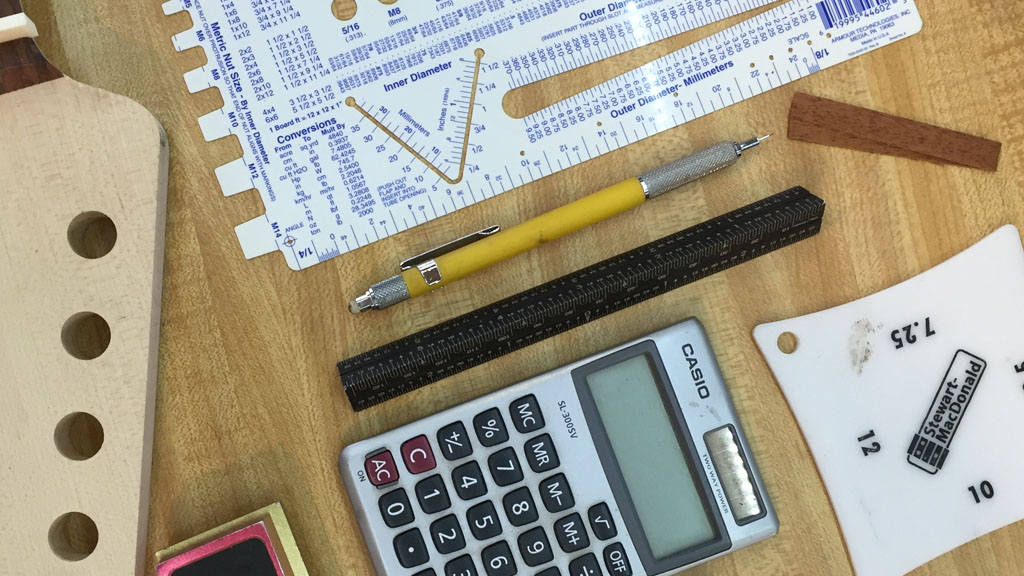
Below: This is what will be used for this build step. The neck itself, a circle template, mechanical pencil, mahogany veneer blanks, calculator, ruler, woodworking/machinist square and radius gauge.

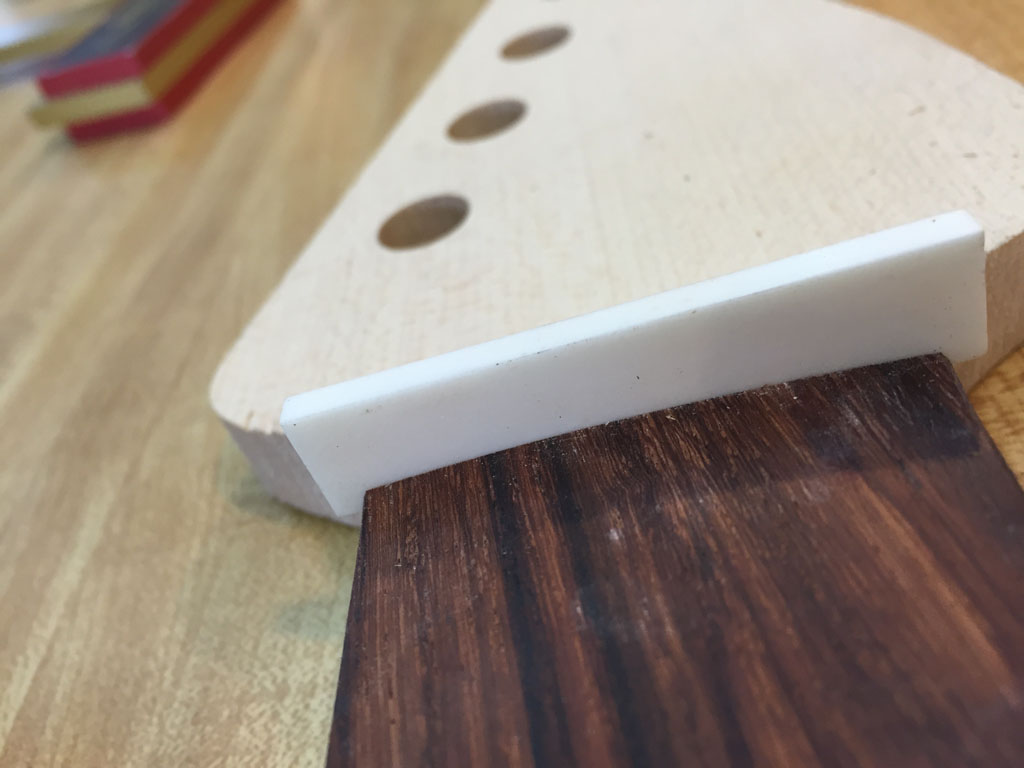
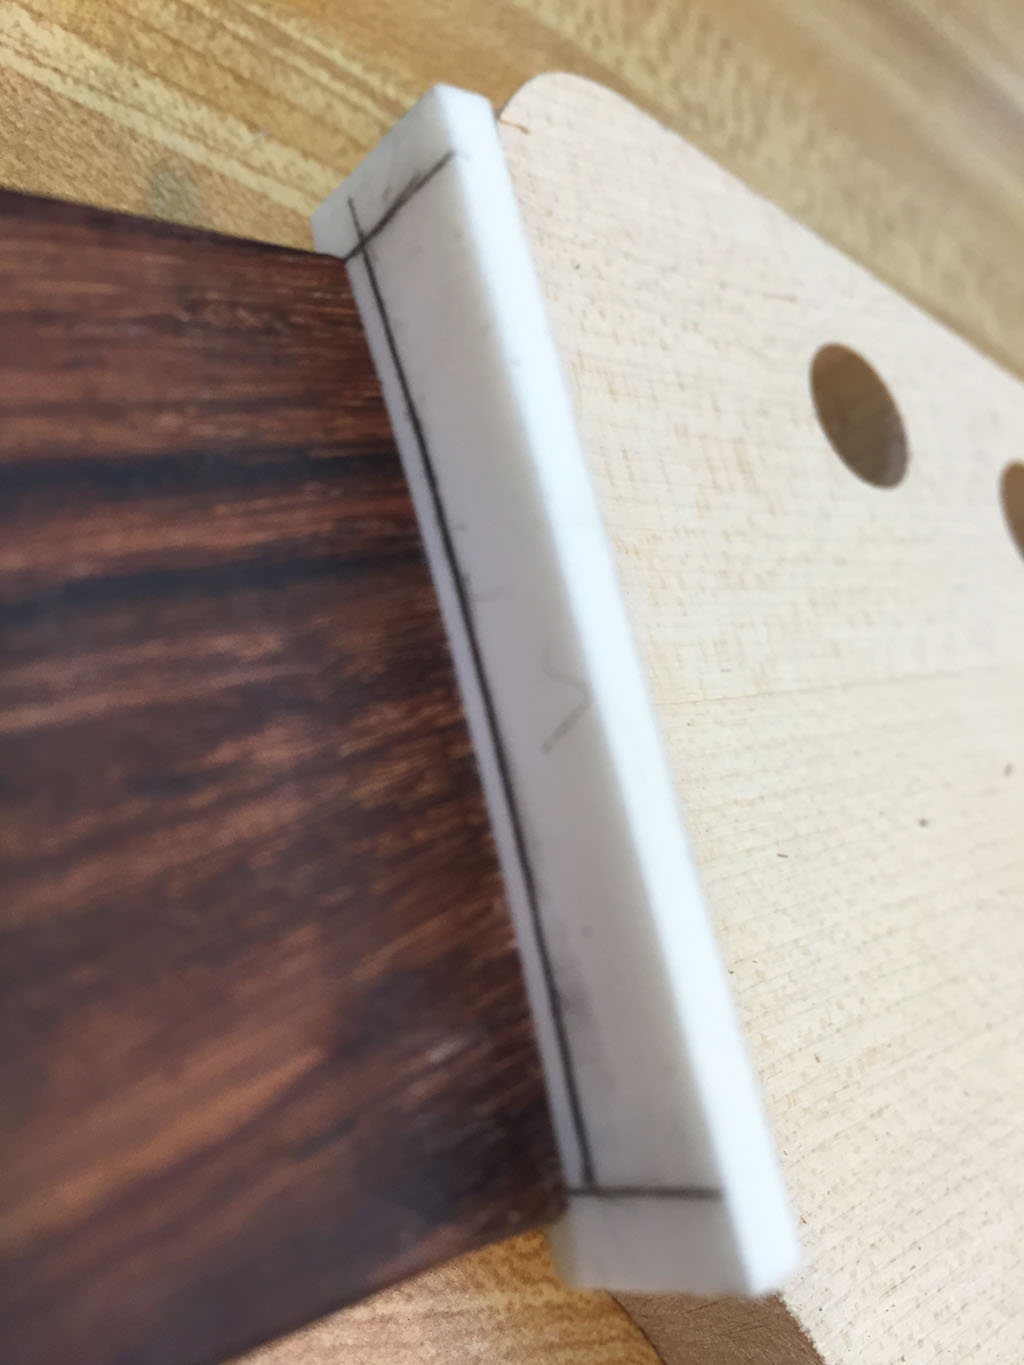
Below: The current state of the nut in the slot before work is started.
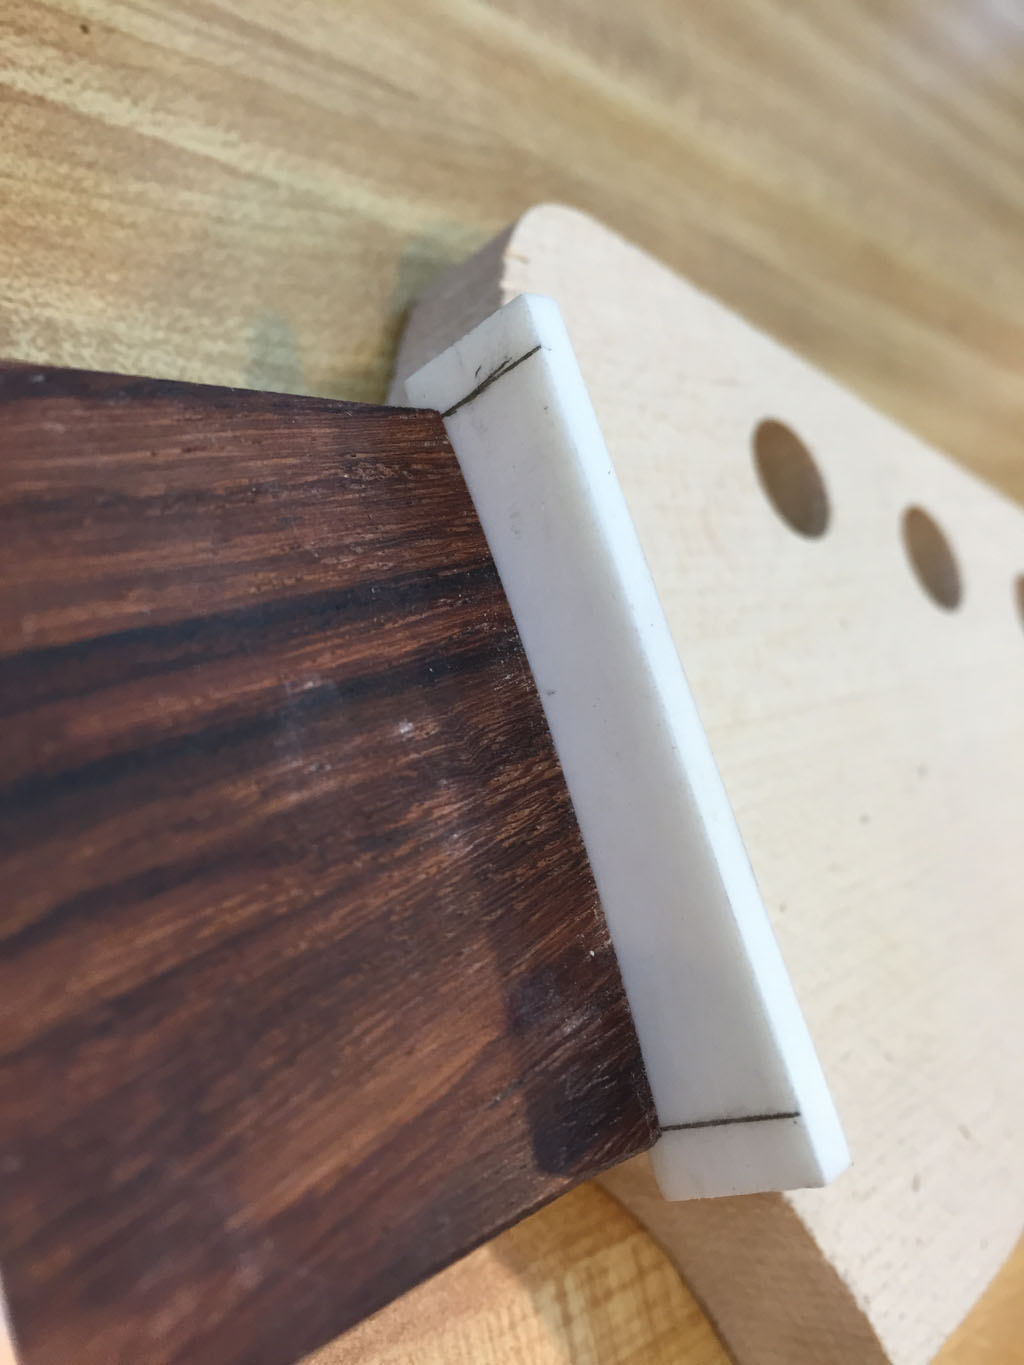
Below: The square has been used to mark the proposed ends of the nut blank, which for this application is 42mm (note: that is the fingerboard width and not overall neck width)
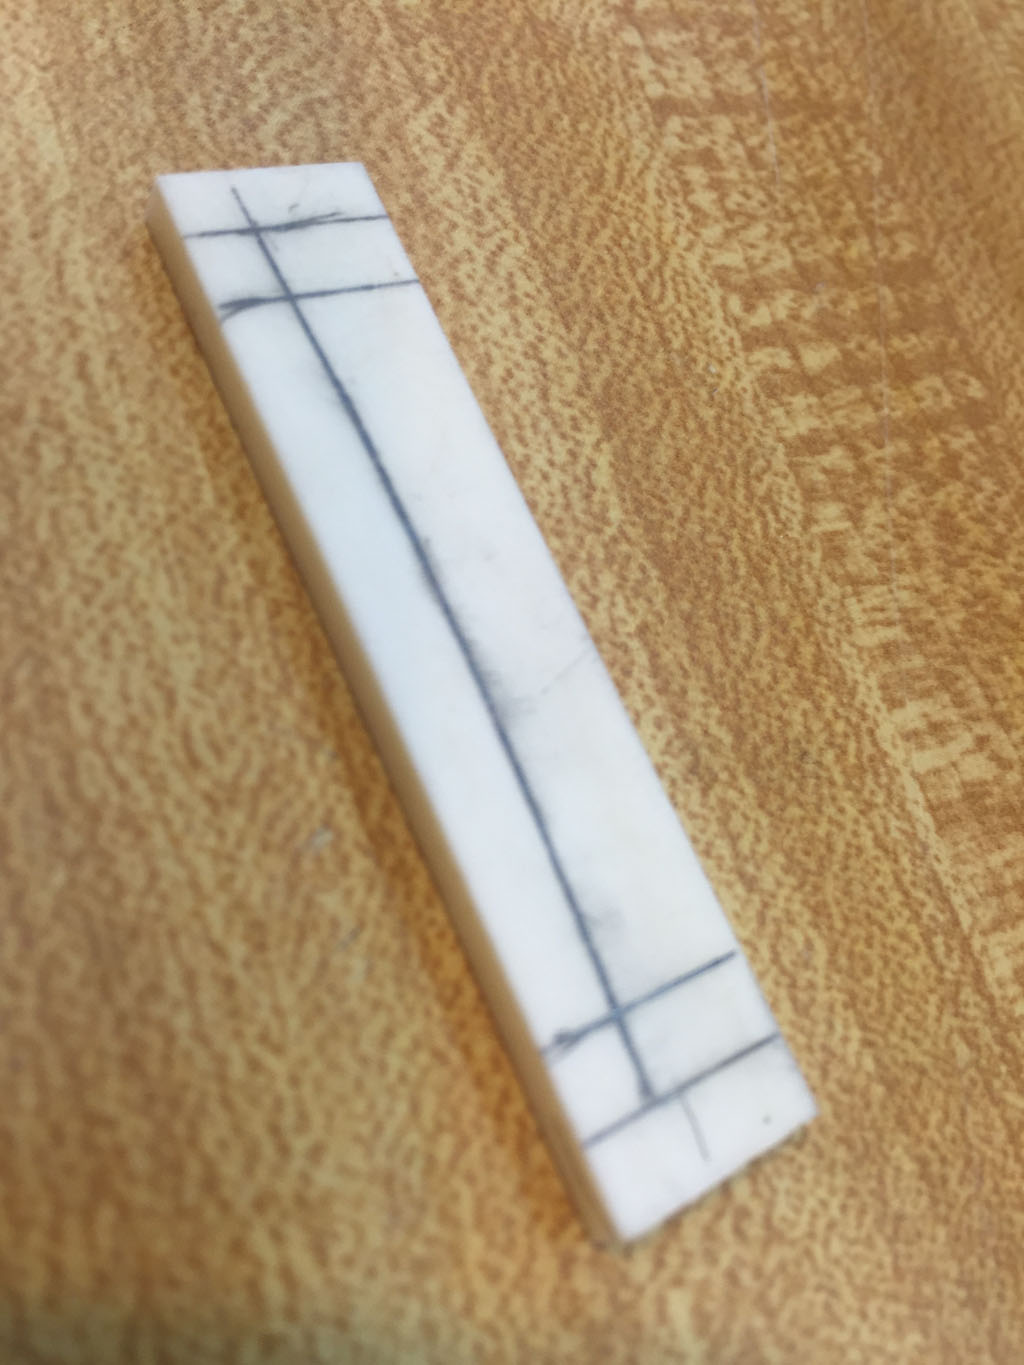
Below: The veneer strips (which stack about .050″ tall) are used to draw a line across the blank which closely matches what the fingerboard radius will be.
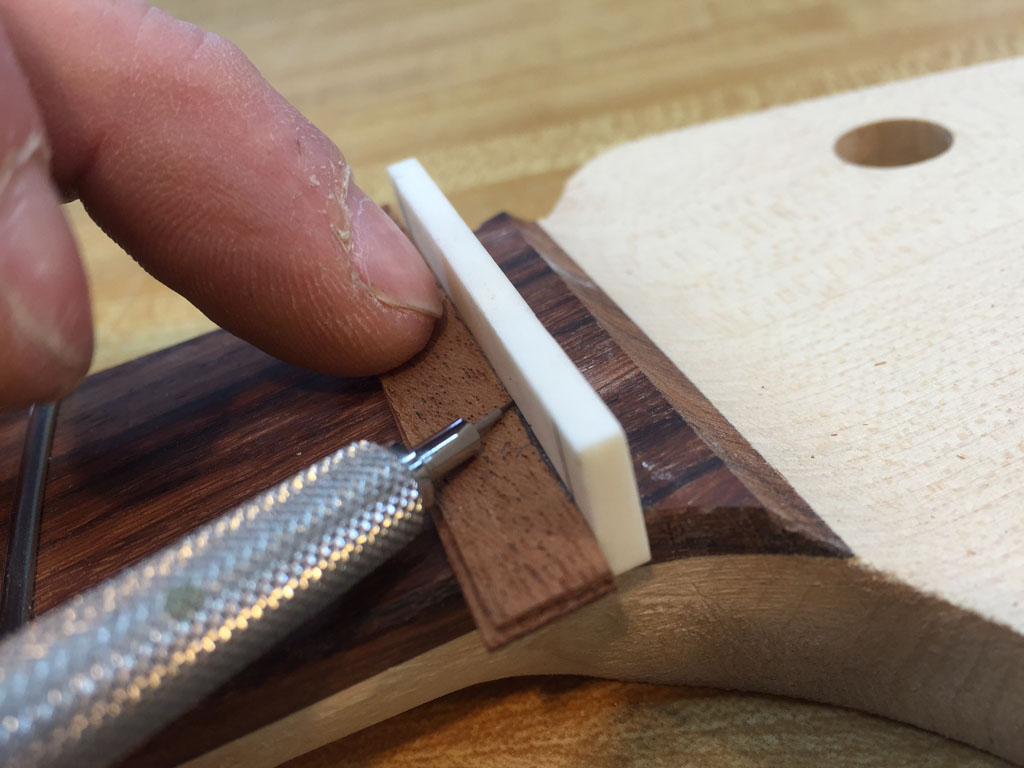
Below: Line has been drawn. Note the slight curve that follows the fingerboard radius (note: the fingerboard radius for this neck is 10″)
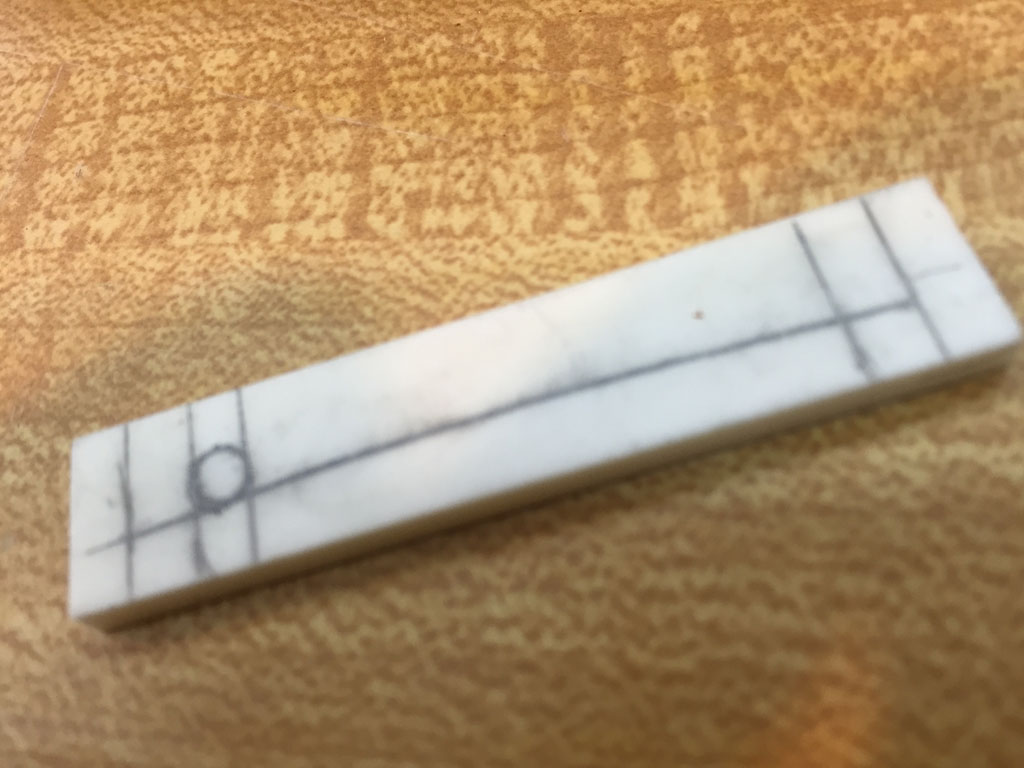
Below: Two more lines have been added on either side 4mm from the starting line.
Below: The B string is a .118″ (very close to 3mm size). One more line has also been drawn which is 3mm away from the last line that was drawn, which was 4mm away, bringing the total distance away from the bass side to 7mm.
Below: Another line drawn, 7mm away from the last line drawn, making it 14mm away from the starting point.
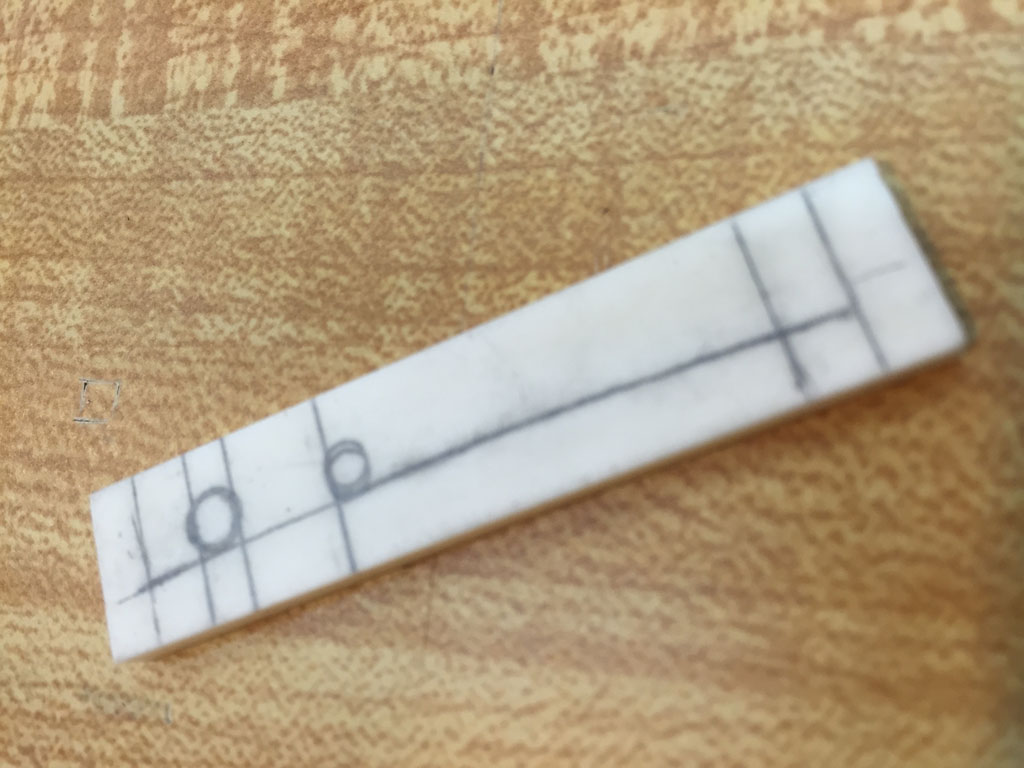
Below: The plan here is for the 4 (as in the E string on a 5-string bass) string to be 2.5mm wide because there is no metric equivalent for .100″. 2.5mm is not exactly .100″ but for this application is very close and acceptable. The treble side layout line for the 4 string is now measured to 16.5mm distance from the starting point. The bass side layout line for the A string (which is string 3) is now 23.5mm away from the starting point (another 7mm away from the previous string).
Where are the rest of the build steps?
You can view them all here.


Sorry:
Which white ruler is that?
Thanks.