
While routing out a channel for a truss may sound intimidating, it’s not once you know the basics of how it’s done.
Truss rod used and construction type
The truss rod used specifically is this one, which is a two-way rod.
The construction type is two-piece construction, meaning not a one-piece neck; this is the style where the rod is installed first, then the fretboard glued on afterward, meaning not installed through the back.
The blank
For the blank, we will use a maple board, measuring 15/16″ x 4 1/2″ x 35″. This blank will be your typical square-edge piece of wood with a flat, smooth surface.
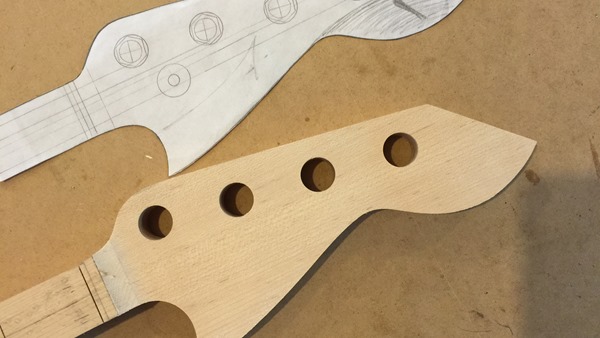
Headstock design considerations concerning position of the center line on the blank
The center line is the line you will draw on your blank that represents the center of the neck and is where truss rod channel will be routed.
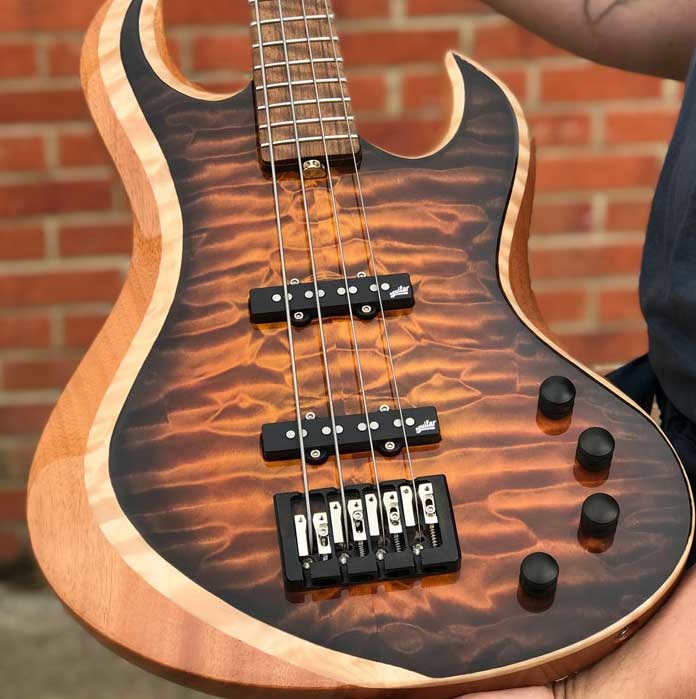
When we were building our neck with the headstock design seen featured, we decided to move our center line of the neck off the centerline of our neck blank; the reason we did this was to get our neck and headstock out of a single piece of wood.
If your left and right headstock edges are equidistant to centerline, like a P-Bass, drawing the centerline on center of the blank will be OK. If you are making a headstock that is of unequal distance of headstock edge to the centerline, like a J-Bass, you may want to move the layout of the centerline over slightly to accommodate the design with the width of the lumber at hand. The need to make this adjustment or not depends on your headstock design and width of stock.
Example:

For our build, it was decided to go with 4 inline tuners on the bass side, Fender style.
Our measurements in our build
Due to our headstock design and limited width of neck blank (ours was 4″ wide,) we found that our centerline was 1-29/64″ from edge of the blank. Since routing the slot immediately obliterates the drawn centerline, we needed some additional measurements to check our work with.
Placing a 1/4″ truss rod at 1 29/64″ from the edge means that close edge of the channel was 1-21/64″ from the blank edge, and the far edge of the slot was 1-37/64″ from the blank edge.
After carefully setting up the fence of the router table, we ran a test piece of lumber and used these additional measurements to check that the channel edges were placed exactly as we wanted before beginning to route the cut in our neck material.
Width and depth of truss rod channel
The width of the channel, as mentioned above, is 1/4 inches. The depth per the truss rod we used is a cavity of 3/8 inches.
Note: 3/8″ is the approximate depth of the rod slot. The exact depth should be fine tuned so the top of the truss rod is perfectly flush to the neck material once inserted.
Shape of truss rod channel cavity
A flat truss rod channel is OK to use with this type of construction. A 1/4″ router bit was used to route the channel.
However, the end of the truss rod must be routed out slightly larger for two reasons. First, to accommodate for the extra size at the end of the rod, and second, to accommodate for rod flex. When you set the bow of your neck, the end of the rod will also bow, so some extra space needs to be cut at that specific area to accommodate for that.
The bit type used to route out the extra space is called a cove bit, and the size of the bit we used was 5/16″.
Start and Stop / Length of Channel
In guitar building, the truss channel will sometimes go straight through the whole blank. Most typically, this will be when making pitch-beveled headstocks.
The neck we are building is a “scalloped,” Fender style. In our case, we did not want the rod to exit the blank at the headstock end. To accomplish this we used a technique we call “picking up,” where routing is done to desired end, and then pick up the piece. Since the router table requires that the work be face down, we made extra layout marks on the back of the neck blank as well as the fence of the router table itself so we would know exactly where to “pick up” and stop the cut.
Go slow
This route cannot be accomplished in one pass. We recommend a minimum of 5 to 7 passes. What this means is to get a finished route of 3/8″ deep, individual cuts of around 1/16″ are done, one at a time, until the final depth was reached.
Be Safe
Always wear eye and ear protection. Do not wear a necktie or your fringe jean jacket from the ’80s. Be aware of hands, fingers and body at all times.
Additional images (per comments below)


Where are the rest of the build steps?
You can view them all here.

I have done wood working, building instruments and everything else, starting as a little boy. I am 67 now. That rod channel would be a lot easier to rout if I was done BEFORE cutting out the neck shape out. Traighten one edge of the board to run along the fence of a router table with the truss rod bit in place. THEN cut out the neck shape centered on the truss rod cut.
Hello, you are correct. We actually did rout the channel while the neck blank was still square. We have many more pictures to upload.
A few more pics would be helpful. Maybe something to detail what ‘picking up’ technique is?
The easy way to rout the truss rod channel is before shaping the neck
i love guitar. Your design is great. Thanks for taking the time to show off your design.
A couple of questions:
1. Is the truss rod you sell a single rod? How does that work with only one rod. What does it push/pull on.
2 . Do you have instructions for routing the nut end/ cove router bit etc
3. If this rod is installed perfectly flush with top of groove, is there room for some silicone.
4. Is this rod round or ⅜ by ¼